Creating the perfect pizza dough is both an art and a science that anyone can master with a little practice and understanding. Whether you’re aiming for a thin, crispy crust or a thick, chewy deep-dish base, the secret to great pizza begins with the dough. Here’s a beginner-friendly guide to making exceptional pizza dough at home, along with some tips tailored for cooking in an outdoor pizza oven.
Understanding the Basics
The key ingredients of pizza dough are simple: flour, water, yeast, and salt. Each plays a pivotal role:
-
Flour: This is the foundation of your dough. Use high-protein flour like bread flour for a chewier texture, or 00 flour for a thinner, crispier crust.
-
Water: The amount of water affects the dough's hydration and ultimately the texture of your pizza. A higher hydration leads to a lighter, airier dough.
-
Yeast: Yeast is what gives the dough its rise. Active dry yeast is perfect for beginners due to its forgiving nature.
-
Salt: Salt adds flavor and regulates yeast activity.
Step-by-Step Pizza Dough Recipe
-
Mixing Ingredients:
- Start by mixing 1 teaspoon of active dry yeast with 1 cup of warm water (around 110°F) to activate the yeast. Let it sit for 5 minutes until it becomes foamy.
- In a large bowl, combine 3 cups of flour with 1.5 teaspoons of salt.
- Pour the yeasty water into the flour mixture and mix until a shaggy dough forms.
-
Kneading the Dough:
- Turn the dough onto a floured surface and knead for about 10 minutes. The dough should become smooth and elastic.
- If the dough sticks to your hands or the surface, add a little more flour, but be careful not to make it too dry.
-
Rising:
- Place the kneaded dough in a lightly oiled bowl and cover it with a damp cloth. Let it rise in a warm place until it doubles in size, about 1 to 2 hours.
- Tip: In cooler conditions, rising can take longer. Patience is key!
-
Shaping:
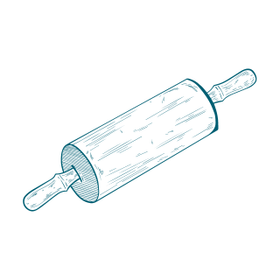
- Once risen, punch down the dough to release air bubbles. Divide it into balls for individual pizzas.
- Let the balls rest for a few minutes before shaping them into pizza bases. Use your hands or a rolling pin to shape the dough, starting from the center and working outwards.
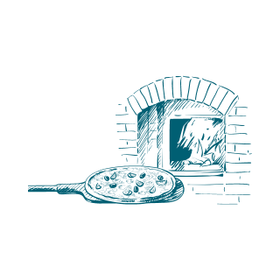
Cooking in an Outdoor Pizza Oven
-
Preheating: Ensure your pizza oven is thoroughly preheated to around 700°F. This high temperature is crucial for achieving that authentic, crisp crust.
-
Baking: Place your shaped dough onto a pizza peel dusted with flour or cornmeal. Add your favorite toppings quickly so the dough doesn’t get soggy. Then, slide it into the oven.
-
Rotating: Rotate the pizza halfway through cooking to ensure an even bake. It should only take a few minutes to cook if your oven is at the right temperature.
Variations for Different Crusts
-
Thin Crust: Use less dough per pizza and stretch it out thinly. Reduce the initial rise time slightly to keep the crust flatter.
-
Thick Crystalline and Deep Dish: For a thicker crust, use more dough per pizza and let it rise a second time in the pan you plan to bake it in to develop volume.
-
Crispy Crust: Increase the oven temperature and ensure the oven floor is very hot before baking. A thinner layer of toppings can also help maintain crust crispness.
Mastering pizza dough is a rewarding skill that opens up a world of culinary creativity. Experiment with different flours, hydration levels, and yeasts to find your perfect formula. With these tips and your outdoor pizza oven, you’re well on your way to becoming a pizza-making pro!